I've recently been asked why do I have thumb tacks in the photo of my crazy quilting. Well the answer is that they are holding my CQ block to a wooden frame. so I thought I'd let you in on how I prepare a CQ Round Robin block to work on.
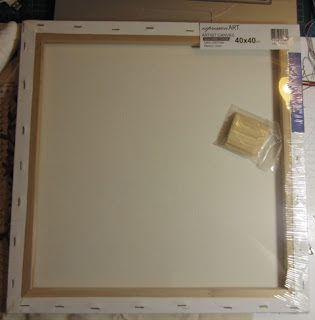
I have two size frames now, one for the 6 inch blocks and one for the 12 inch blocks. Our cheap shop had a sale on these picture frames that I use for this purpose, so I now have a few of them, and can have a few blocks ready to work on at any one time.


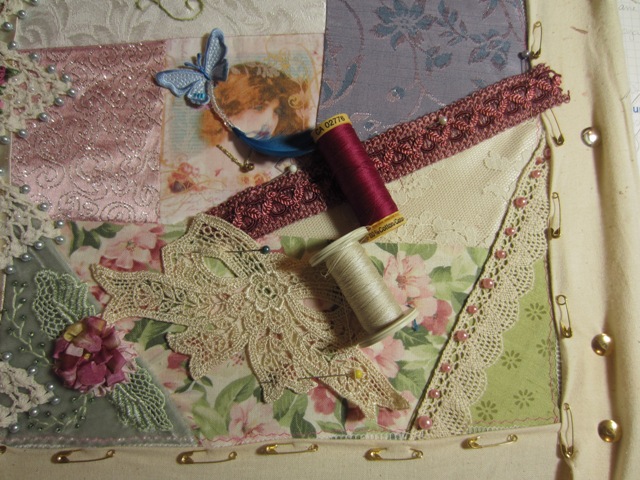
I then add calico strips to the outside of the block, to make it large enough to put over the frame. I usually use little gold plated safety pins, as they don't rust and good for the fabric.


 Others might say, oh dear no, but this is how I do it, and it works for me, and I haven't heard any complaints about my work on any ones blocks, and I've now been doing Round robins for 4 years now, wow, where has the time gone..... I love the colours that Nicki has, the soft pastel colours are georgous. Rose pinks are a favourite colour of mine and I like to use on blocks, and so have a fair amount to play with.


 So with pieces pinned in place, I find matching thread and stitch them down.
In a couple of days I'll post the finished block. I hope this helps shed light on what I do to prepare a block for a round robin.
Arlene
I have two size frames now, one for the 6 inch blocks and one for the 12 inch blocks. Our cheap shop had a sale on these picture frames that I use for this purpose, so I now have a few of them, and can have a few blocks ready to work on at any one time.

First of all, I need to cut a big hole out of the canvas, I leave the canvas around the edge as it's white and helps to protect the fabric.


I then add calico strips to the outside of the block, to make it large enough to put over the frame. I usually use little gold plated safety pins, as they don't rust and good for the fabric.

My next step is to add this to the frame. I tack the corners in first, then the centres of each side, and then the centre of each of these. I don't pull too tight, as you can see from the safety pins, they might pull out.

This is Nicki-lees Lace and Pearls block, it's stunning, and so my next task is to work out what I'm going to do. So I get out my stash and decide what I want to put where.


So I've got the big bow motif on the bottom, the rose pink braid which I'll add pearl beads to, and do a seam of chevron stitch below this. Up the top on the left I'll add a meandering bow. That will leave room for Kathy Shaw to work her magic on the areas that are left. She'll tone down that braid strip I've added by adding something else on the block to draw the eye away from it. If I do it now, there won't be enough room for Kathy to work.

As I sew I cover the work that's been done before, so that my thread doesn't catch and pull the work. the blue butterfly was painful, he did get covered eventually, so I could work without my thread catching the feather all the time. (which it did a couple of times until I got fed up with it).
In a couple of days I'll post the finished block. I hope this helps shed light on what I do to prepare a block for a round robin.
Arlene


